Doing a professional manicure at home is easier than it seems. With the right products and techniques, you can achieve impressive results without leaving your house. A good manicure not only enhances the beauty of your hands but also strengthens your nails and improves their overall appearance.
Below, we share a complete step-by-step guide to achieving a perfect manicure at home.
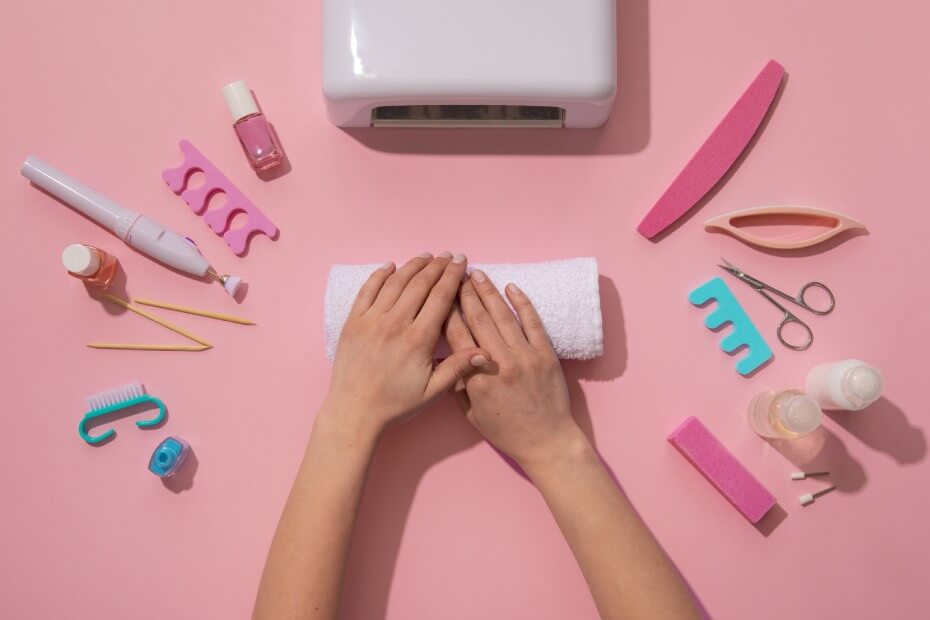
1. Essential Tools
Before you begin, it’s important to have the right tools on hand. Here is a list of the basic items you’ll need for a home manicure:
-
Acetone-free nail polish remover: Less harsh on your nails and prevents dryness.
-
Cotton balls or remover pads
-
Nail clippers and nail file: Essential for trimming and shaping your nails.
-
Cuticle pusher or orangewood stick: Helps gently push back cuticles and remove residue.
-
Nail buffer: Smooths the nail surface and allows polish to adhere better.
-
Cuticle oil: Perfect for hydrating and softening cuticles.
-
Base coat and top coat: Protect the nail and extend the life of your polish.
-
Your preferred nail polish color

2. Steps for a Perfect Manicure at Home
a) Remove Old Polish: If you have old nail polish on, remove it using an acetone-free remover to prevent dryness. Apply the remover to a cotton pad, press it onto the nail for a few seconds, and gently wipe until all color is removed.
b) Shape Your Nails: If your nails are too long, trim them with nail clippers. Then, define your desired shape using a fine-grit nail file. To prevent breakage, always file in one direction and avoid back-and-forth motions.

c) Smooth the Surface with a Buffer: Use a nail buffer to smooth the surface and eliminate imperfections. This step ensures even polish application and reduces the risk of chipping.
d) Care for and Push Back Cuticles:Apply a small amount of cuticle oil and gently massage it in to hydrate the area. Then, use an orangewood stick or cuticle pusher to carefully push the cuticles back. Avoid cutting them, as cuticles protect the base of the nail.
e) Apply a Protective Base Coat: Apply a thin layer of base coat before adding color. This step is essential because it helps the polish adhere better and prevents staining or weakening of the natural nail.
f) Apply Nail Polish in Thin Layers: The secret to a long-lasting manicure is applying thin layers. Start with one thin coat of color and allow it to dry completely. Then, apply a second coat to intensify the color and achieve a smooth, even finish.

g) Finish with a Top Coat: Seal your manicure with a top coat for a glossy finish and added protection. This final step helps prevent chipping and significantly extends the life of your manicure.
3. Tips to Make Your Manicure Last Longer
Here are some expert tips to keep your manicure looking flawless for longer:
-
Avoid soaking your nails in hot water during the first few hours. Heat can soften the polish and cause chipping.
-
Wear gloves when doing household chores. Detergents and prolonged water exposure can damage your manicure.
-
Reapply a layer of top coat every 2–3 days. This helps maintain shine and protects against wear.
-
Moisturize your hands and cuticles daily. Keeping them hydrated prevents dryness, which can cause polish to lift or peel.

With this guide, doing a manicure at home can become a relaxing self-care ritual that leaves your nails looking beautiful and well-maintained. At Foriu, we’re confident that with the right tools and techniques, you can achieve professional results without ever stepping outside your home.